Embedding a widget
To place a widget on your website, start by copying the embed script and paste it into your HTML code. The embed code looks like this:
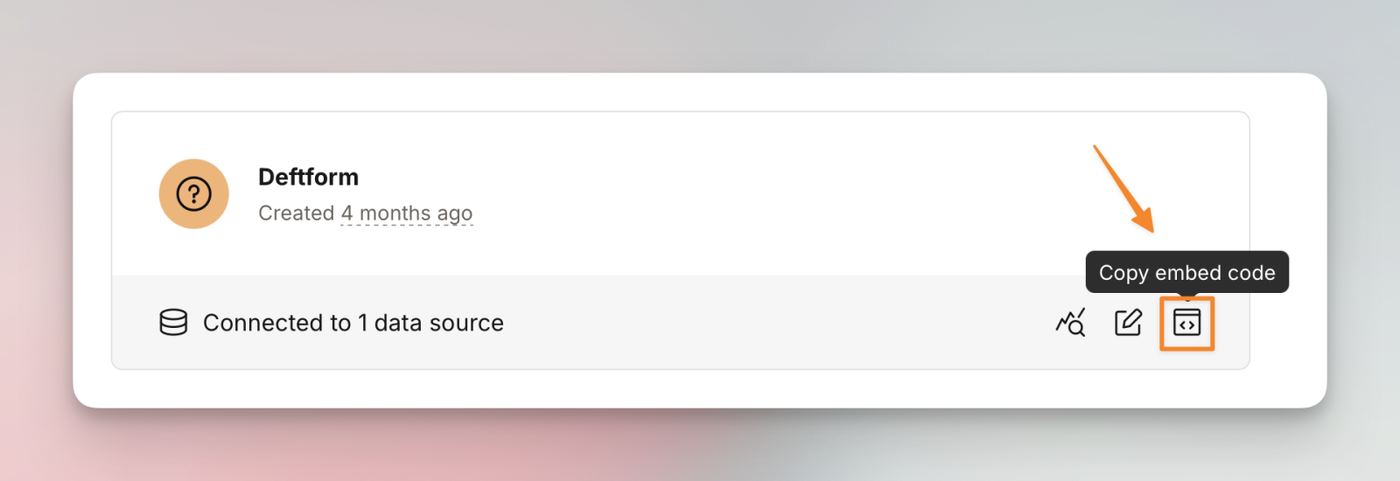
<script src="https://widget.tinydub.com/embed.js" data-tinydub-widget="WIDGET-ID" data-tinydub-autostart="true" defer></script>You can copy the embed code when viewing the "Widgets" page.
Available options
By default, the widget is loaded when the page is ready. The attribute data-tinydub-autostart="true" is responsible for this. Setting it to false, or removing the attribute, will prevent the widget to load automatically.
Enable programmatically
To enable the widget, you can simply call tinydub.enable(false) or tinydub.enable(true). This will load the script and depending on the parameter (true or false), the widget directly opens (true), or simply shows the widget icon in the lower right corner (false).
To then open and close the widget, you can use the following function calls:
Open: window.tinydub.open()
Close: window.tinydub.close()
To show and hide the actual widget, you can use these functions:
Show: window.tinydub.show()
Hide: window.tinydub.hide()
You may omit the window. part.
Adding customer data
When embedding the widget into your backend, or wherever user data is available, you can add the following data attributes to your embed script (the same way data-tinydub-autostart is added).
Name: data-tinydub-name="DATA-VARIABLE"
Email: data-tinydub-email="DATA-VARIABLE"
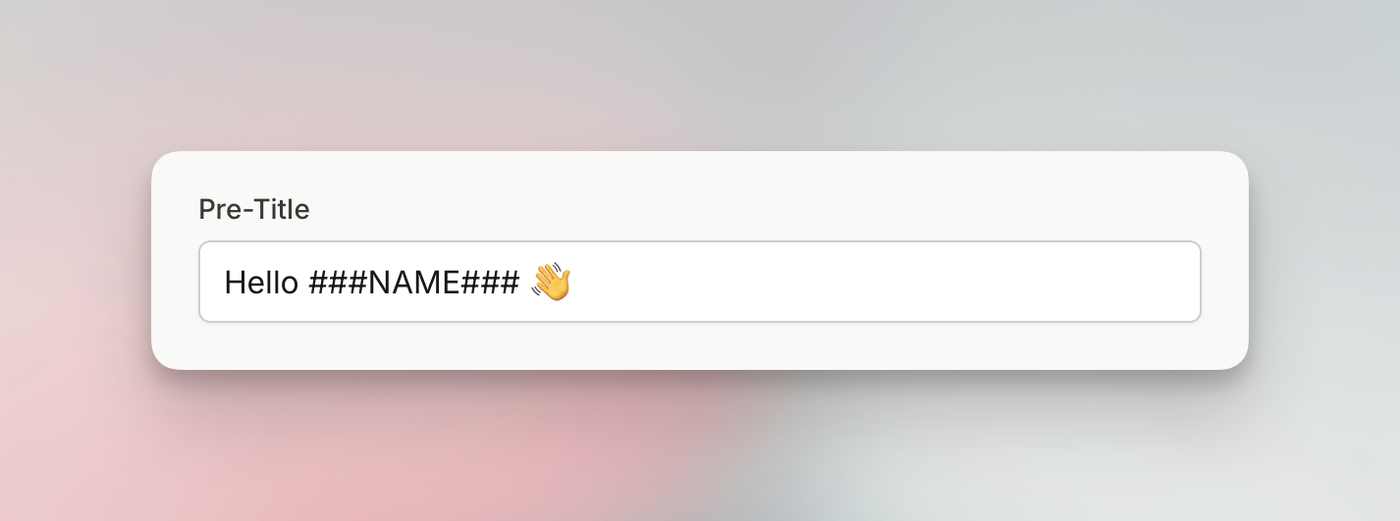
You will need to replace DATA-VARIABLE with the actual user data. For example, in Laravel, the email would look like this: data-tinydub-email="{{ auth()->user()->email }}". By pre-filling these variables, both the name and email field are hidden for the contact form (if enabled in the widget). You can also use parameters ###NAME### and ###EMAIL### in your widget's texts to use the user's data.
Authenticating users
You can pass the attribute data-tinydub-hash to the embed script if you want to authenticate the customer. You can read more about this here.
<script .... data-tinydub-hash="c5fcb244c8fe8a0e718cf02e55678"></script>